IDE Basics
This page describes the IDE window layout and editor tools that streamline daily development.
Interface Tour
DevEco Studio is built on the IntelliJ Platform, so if you have used Android Studio, WebStorm, or another JetBrains IDE, the layout will feel familiar.
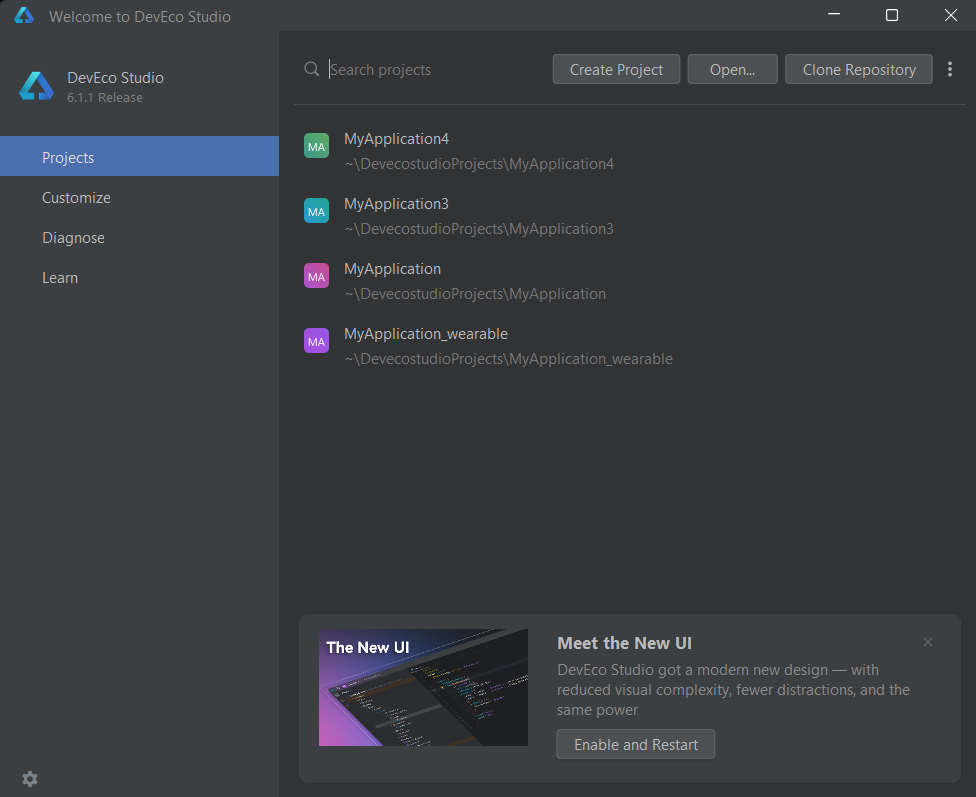
Welcome Screen
When no project is open, DevEco Studio shows the Welcome screen with:
- Create Project — start a project from a HarmonyOS template (Empty Ability, Native C++, and more). Configure the generated project for OpenHarmony when that is the target runtime.
- Open — open an existing project directory.
- Clone repository — clone a Git repository directly.
- A list of recently opened projects.
Main Window Layout
Once a project is open, the main window is split into the following regions:
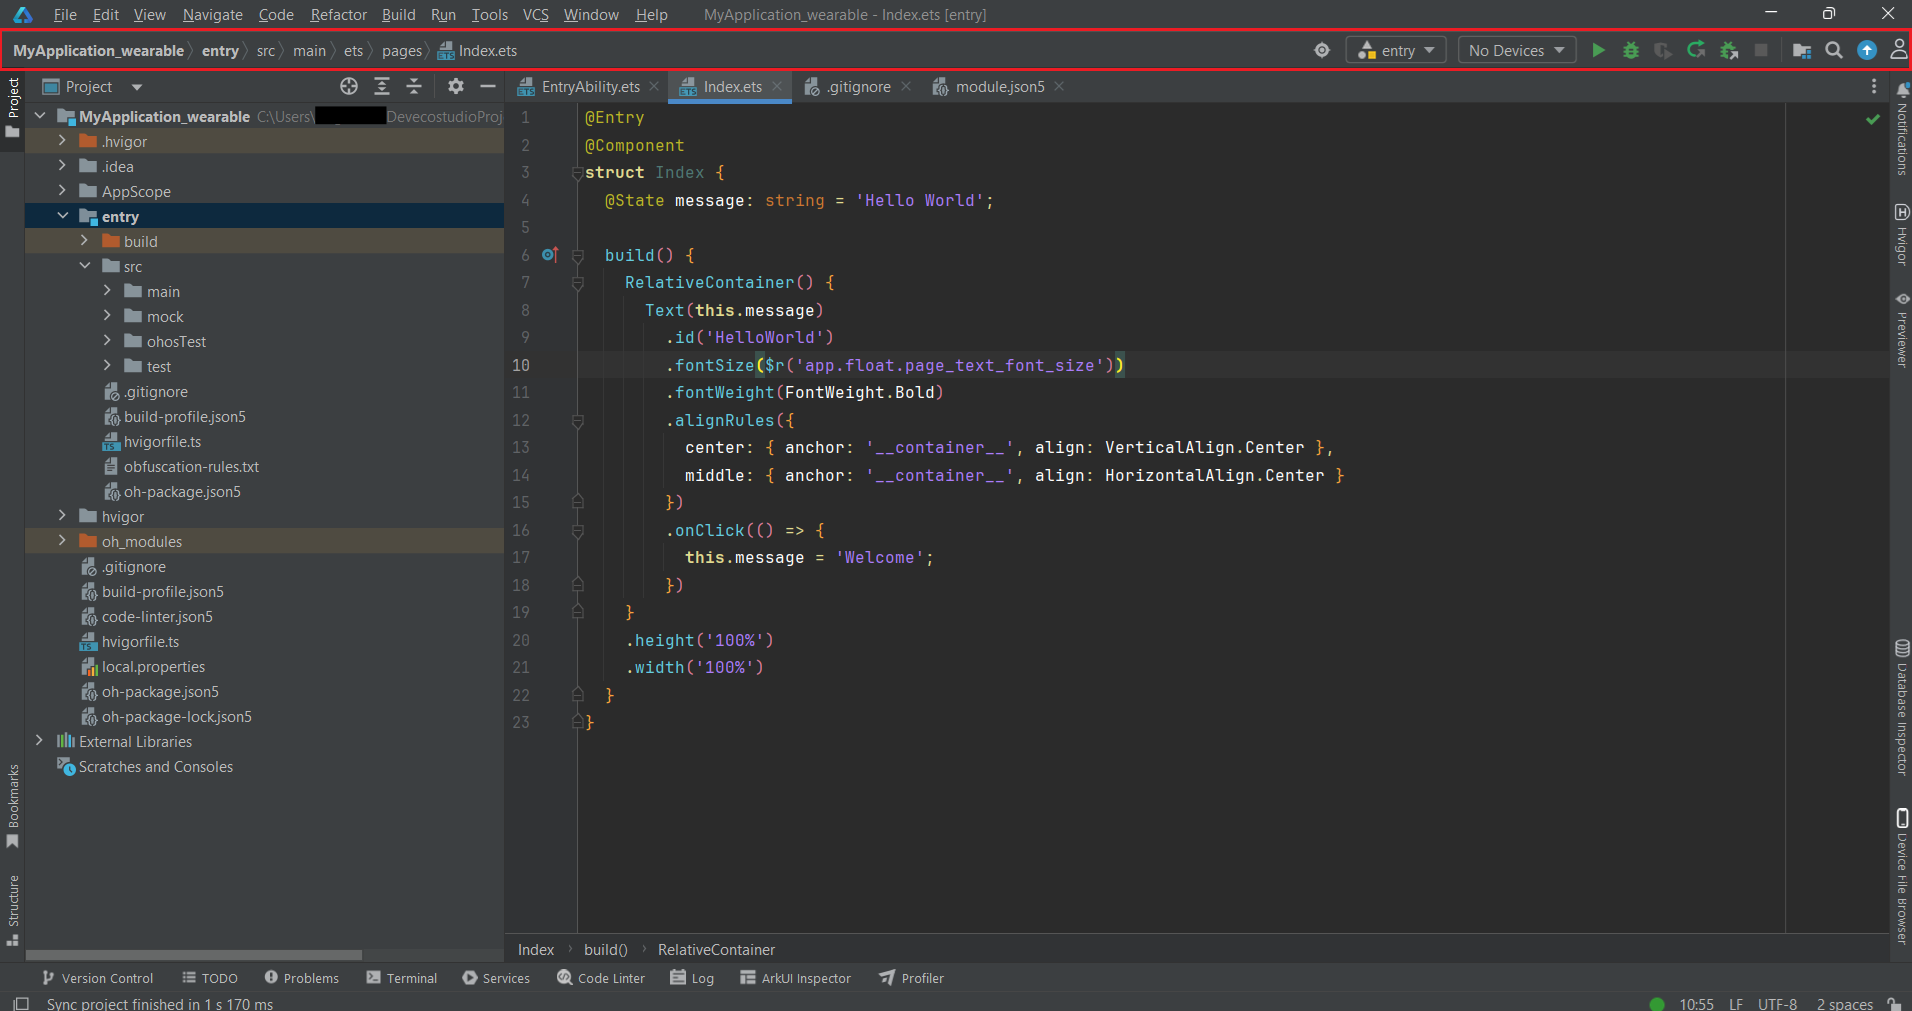
Breadcrumb of the current file's path, run/debug configuration selector, run/debug/stop buttons.
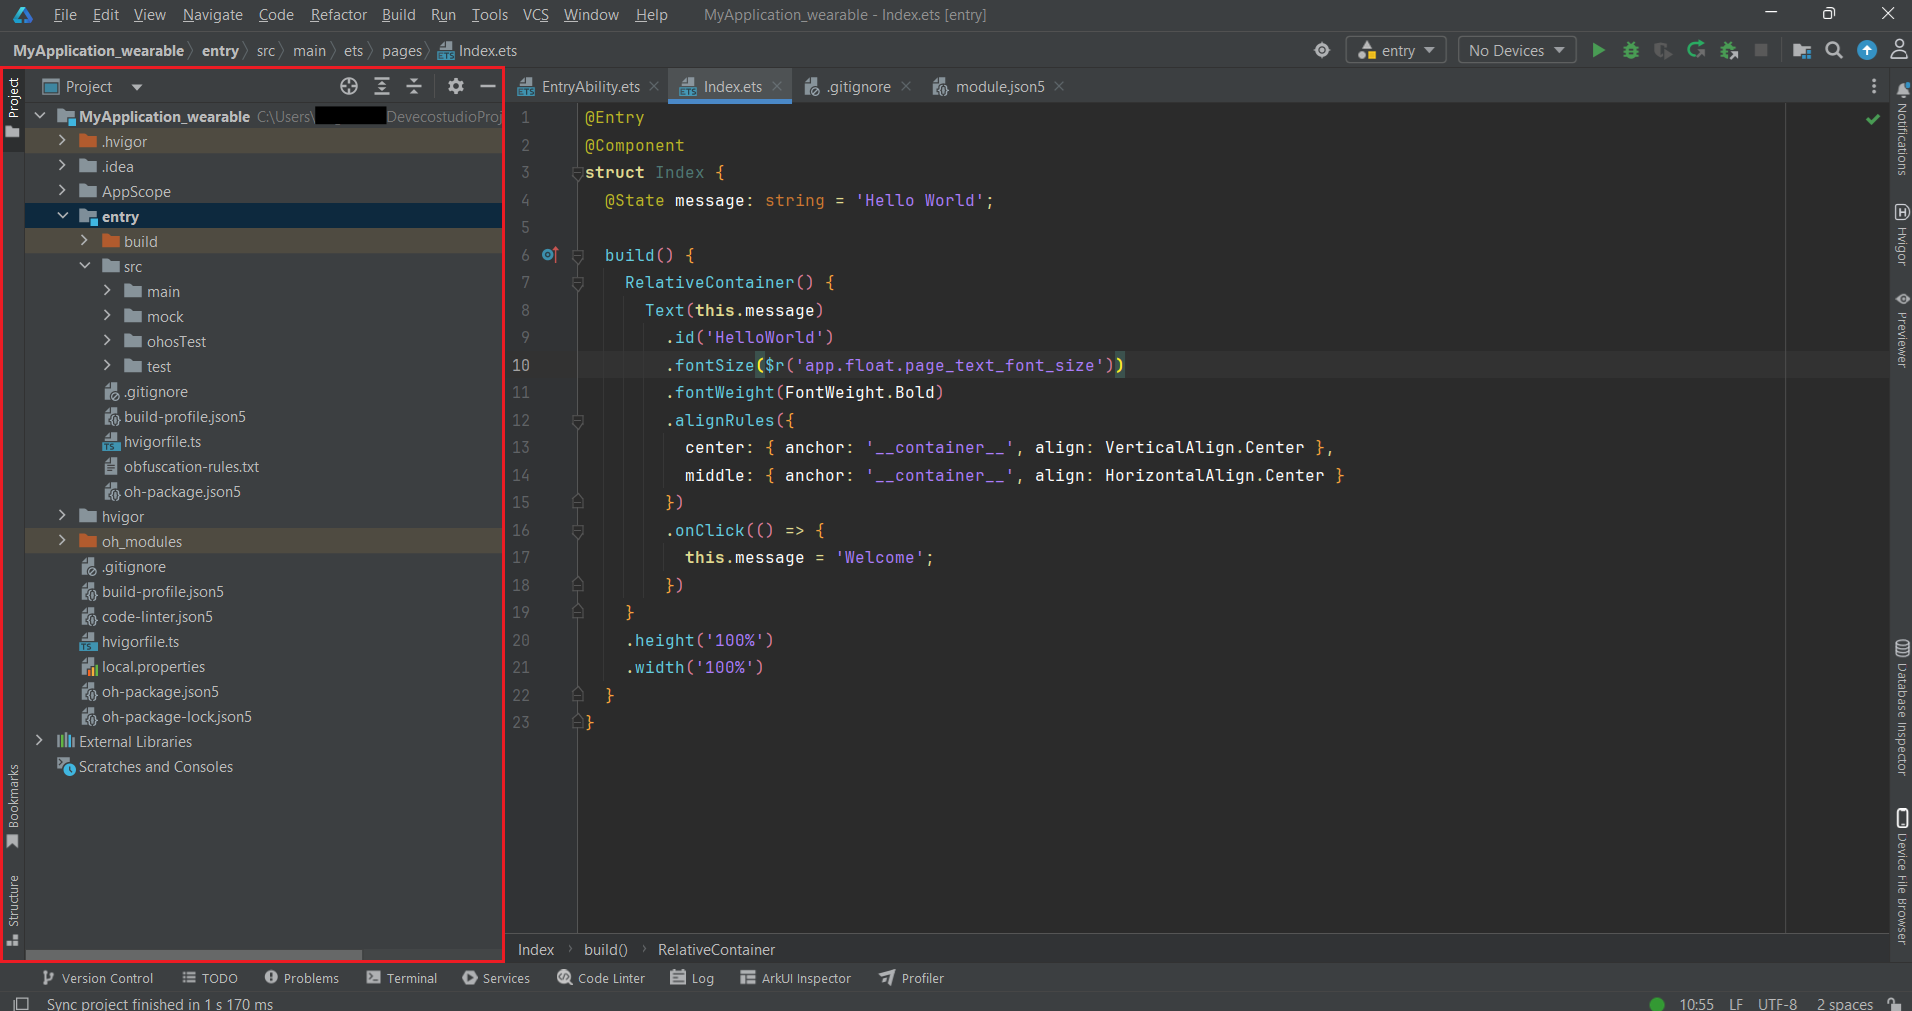
File tree of the project (several views available, see below).
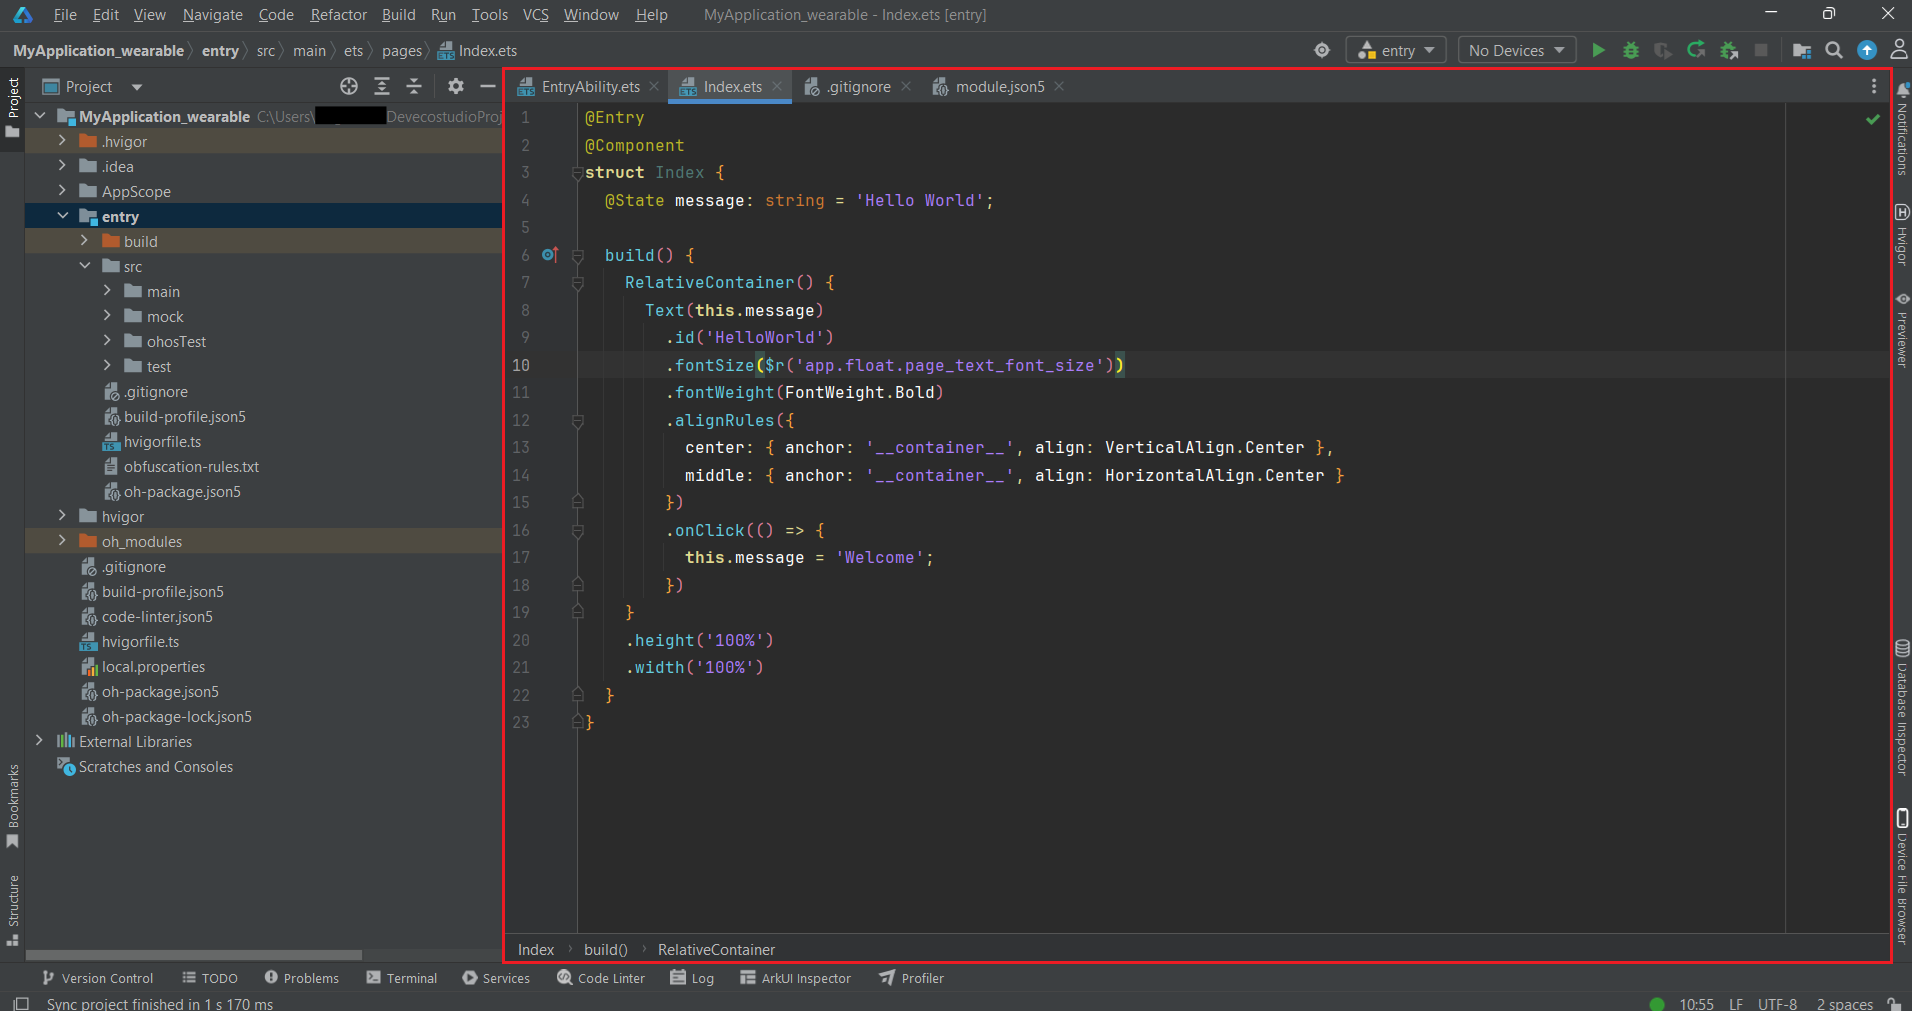
Source files, resource files, previews.
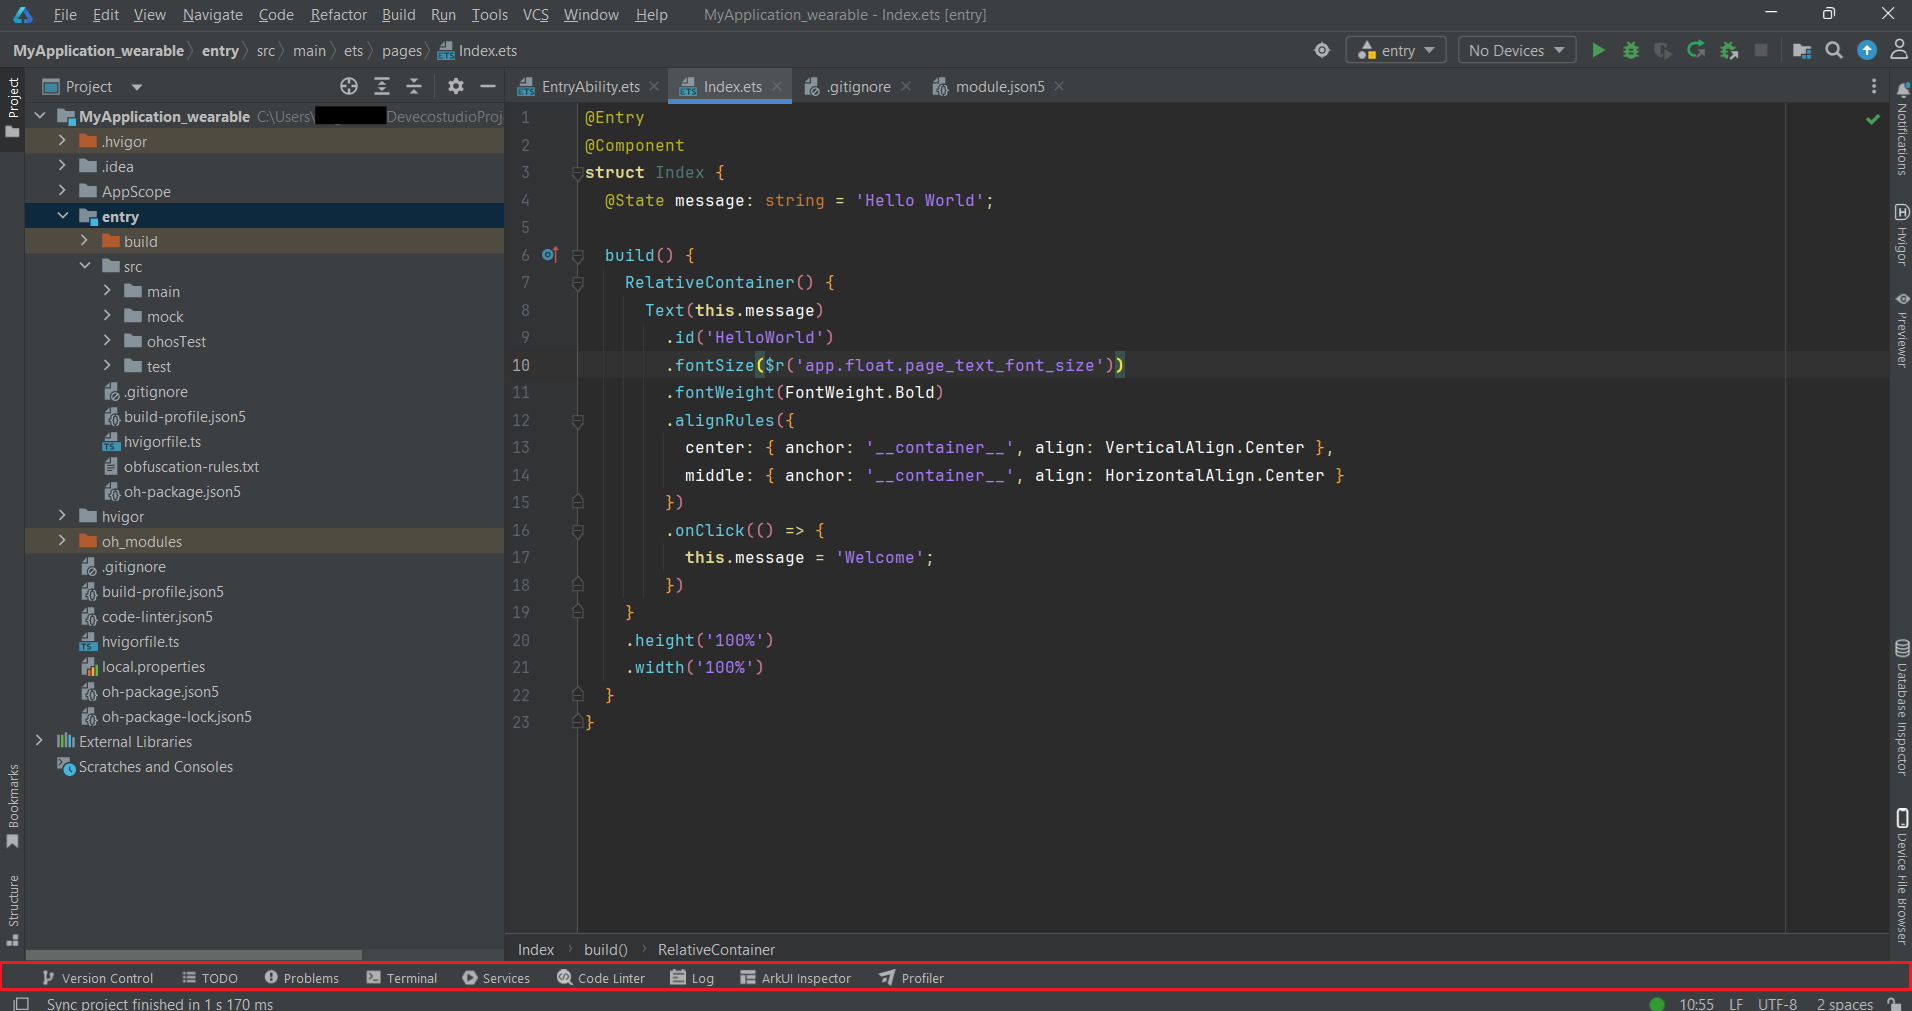
Icons to toggle tool windows such as Terminal, TODO, Problems.
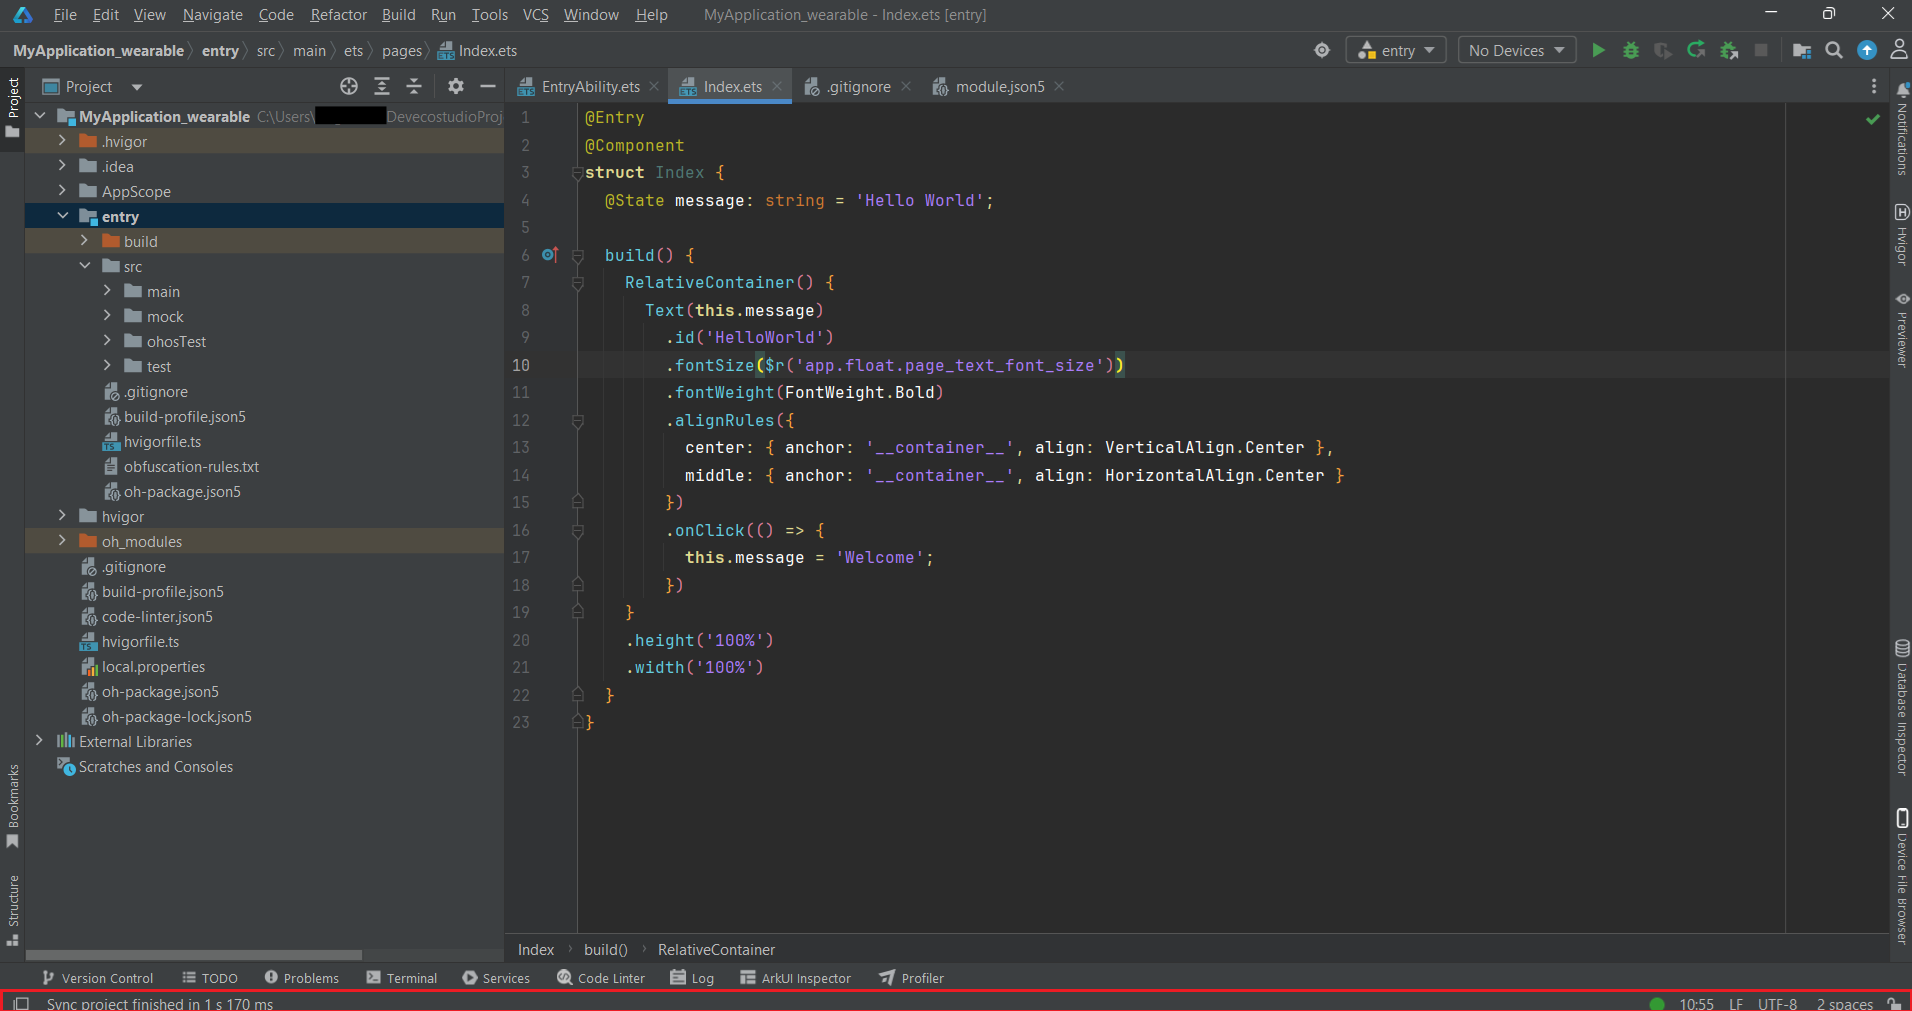
Encoding, line separator, current SDK/API level, background task progress.
Project view switcher
The dropdown at the top of the Project tool window (default label Project) lets you switch between several file tree presentations, including:
- Project — the raw directory structure on disk.
- Project Files — filters out most build/IDE metadata so only source-relevant files remain.
- Open Files — quickly jump between recently viewed files.
- Scratches and Consoles — lists scratch files and console histories, which live outside the project directory and are not tied to version control.
- Ohos — presents only the files required for development, helping you locate the application's core code and resources. This is usually the most convenient view for day-to-day OpenHarmony application development.
Essential Shortcuts
Before learning where every tool window lives, these are the five shortcuts worth memorizing on day one:
| Shortcut | What it does |
|---|---|
Ctrl+F |
Find text in the current file |
Ctrl+S |
Save all files |
Shift+F10 |
Run the app |
Shift+F9 |
Debug the app |
Ctrl+Z |
Undo the last change |
Shortcuts differ per keymap
The shortcuts above use the default Windows/Linux keymap. macOS uses Cmd instead of Ctrl for most bindings. You can inspect or change any binding under Settings → Keymap.
Essential Navigation Shortcuts
| Action | Shortcut |
|---|---|
| Search everywhere (files, classes, actions, settings) | Shift Shift (double Shift) |
| Go to declaration/definition | Ctrl+B or Ctrl+Click |
| Comment/uncomment line | Ctrl+/ |
| Reformat code | Ctrl+Alt+L |
| Find usages | Alt+F7 |
Search Everywhere (double Shift) can open files, jump to a settings page, or run an IDE action without navigating through menus.
Editor Features
DevEco Studio's editor is one of its strongest points — because it is built on the IntelliJ Platform, ArkTS/ArkUI code gets the same class of tooling that TypeScript and Java developers rely on daily.
Code Completion
As you type, DevEco Studio suggests:
- Component names and their parameters (e.g. typing
Text(shows the expected argument). - Available decorators for ArkUI component properties (for instance:
@State/@Prop/@Link). - Automatic import insertion when you accept a suggestion for a symbol that isn't imported yet.
Note
Ctrl+Shift+Space narrows suggestions to those valid at the cursor, such as types assignable to the expected parameter. This is more useful than basic completion (Ctrl+Space) as a project grows.
Navigating Code
Beyond Ctrl+B and Alt+F7 from the Essential Navigation Shortcuts above, the Structure view (Alt+7) is worth knowing about — it shows an outline of the current file's declarations, handy for jumping around a large page.
Refactoring
Refactoring tools rewrite code across the whole project consistently, not just in the current file:
- Rename (
Shift+F6) — renames a symbol and updates every reference, including in resource files where applicable. - Extract Variable / Extract Function — pulls a selected expression or block into a named variable/function.
- Extract Component — turns a chunk of ArkUI declarative UI code into its own reusable
@Component, which is one of the most useful refactors once a page'sbuild()method starts growing. - Safe Delete — checks for remaining usages before deleting a declaration, refusing (or warning) if something still depends on it.
Warning
Renames across resource strings or files referenced by relative paths are not always fully tracked. After a large rename, run a project-wide search (Ctrl+Shift+F) for the old name before committing.
Inspections and Quick Fixes
The editor continuously analyzes your code and underlines potential issues:
- Red underline — compile errors (e.g. missing import, type mismatch).
- Yellow underline — warnings and style suggestions (e.g. unused variable).
Press Alt+Enter on a highlighted piece of code to see quick fixes — importing a missing symbol, adding a missing @State, or suppressing a specific inspection.
The Problems tool window provides an aggregated list of issues across the project, which is faster than inspecting every file after a large change.
Live Templates
Live Templates are expandable code snippets. Type an abbreviation and press Tab to expand it into a boilerplate block you then fill in. You can inspect and add your own under Settings → Editor → Live Templates. This is worth doing for repeated ArkUI patterns you write often (a specific @Component skeleton, a common Column/Row layout, etc.).
Formatting and Imports
Reformat with Ctrl+Alt+L (already listed above); enable Reformat and optimize imports on save under Settings → Tools → Actions on Save if you'd rather not think about it.
With the layout and editor covered, move on to Quick Start to actually build and run something.