Oniro Emulator
The Oniro Emulator provides an easy and accessible way to develop and test applications or system components without the need for physical hardware.
It is based on QEMU, a powerful open-source machine emulator and virtualizer.
The emulator uses the x86_64 architecture. On an x86 host, it runs with hardware acceleration: KVM on Linux, the Windows Hypervisor Platform on Windows and HVF on Intel-based Macs.
This guide provides step-by-step instructions to build and run the Oniro Emulator.
Fetch and Build
You need a Linux host with Docker and about 150 GB of free disk space. Also install git-lfs and repo. This guide uses the OpenHarmony-6.1-LTS branch. Build commands run inside the build container (the docker exec commands). Everything else runs on the host, from the root of the source tree.
Get the source code
repo init -u https://github.com/eclipse-oniro4openharmony/manifest.git \
     -b OpenHarmony-6.1-LTS -m oniro.xml --no-repo-verify
repo sync -c
repo forall -c 'git lfs pull'
Set up the build container
Oniro provides its own build image. It is the upstream OpenHarmony image plus a few tools that a clean build needs. Build it once, then start a container with the source tree mounted:
sudo docker build -t oniro-oh-standard:3.2 device/board/oniro/docker

sudo docker run -d -it --name oniro-build \
     -w /home/openharmony \
     -v "$PWD":/home/openharmony/workdir \
     -v "$HOME/.ccache":/root/.ccache \
     -v "$(dirname "$PWD")/openharmony_prebuilts":/home/openharmony/openharmony_prebuilts \
     oniro-oh-standard:3.2 /bin/bash
The ccache and prebuilts mounts are optional. They make rebuilds faster and let a new container reuse the toolchains you have already downloaded.
Tip
To work interactively, open a shell in the container with sudo docker exec -it oniro-build bash and run the commands from /home/openharmony/workdir.
Download the prebuilt toolchains
Run this once for each new source tree:
Apply source patches
Run the patching script on the host:
Note
The script applies the patches with git am, so set your git identity first (git config --global user.name and user.email).
Build the images
Start the build with ccache enabled:
sudo docker exec -u root -w /home/openharmony/workdir oniro-build \
     ./build.sh --product-name x86_general --ccache
The images and the run.sh / run.bat launch scripts are written to:
(Optional) Revert patches
If needed, you can undo the applied patches:
Alternative: Download Prebuilt Images
Instead of building the images yourself, you can download the prebuilt Oniro Emulator images.
After downloading, extract the archive and use the included run scripts as described in the next sections.
QEMU Installation
The emulator requires QEMU. See the QEMU download page for all platforms.
Linux
- On Debian-based Linux distributions:
- On Fedora/RHEL:
- The emulator requires KVM. Add your user to the
kvmgroup, then log out and back in:
Windows
- Install QEMU from the official website, and add its installation directory (e.g.,
C:\Program Files\qemu) to yourPATH. - Install Git for Windows (Git Bash) or MSYS2.
run.batuses Git Bash or MSYS2 to runrun.sh. - Enable Windows Hypervisor Platform: open Turn Windows features on or off, check Windows Hypervisor Platform, click OK, and restart.
macOS
- Install QEMU with Homebrew:
brew install qemu. - Intel Macs use hardware acceleration (HVF). Apple Silicon Macs emulate x86, which is much slower.
Running the Emulator
From the images directory, start the emulator with the script for your operating system:
-
Linux / macOS:
-
Windows:
The script picks the right acceleration for your host. If no display is available (for example, over SSH), it switches to headless mode.
Useful options:
| Option | Description |
|---|---|
--headless |
Run without a window. The screen is available over VNC on port 5900 and the serial console over telnet on port 4444 |
-s N |
Number of virtual CPUs |
-m SIZE |
RAM size |
-r WxH |
Screen resolution |
--help |
Show all options |
Note
If you built the images in the container, they belong to root. If run.sh fails with Could not reopen file: Permission denied, take ownership of them first: sudo chown "$USER" *.img bzImage.
Connecting to the Emulator with HDC
Once the emulator is running, you can connect to it using HDC (the OpenHarmony Device Connector). QEMU forwards the emulator's HDC port to 127.0.0.1:55555 on the host:
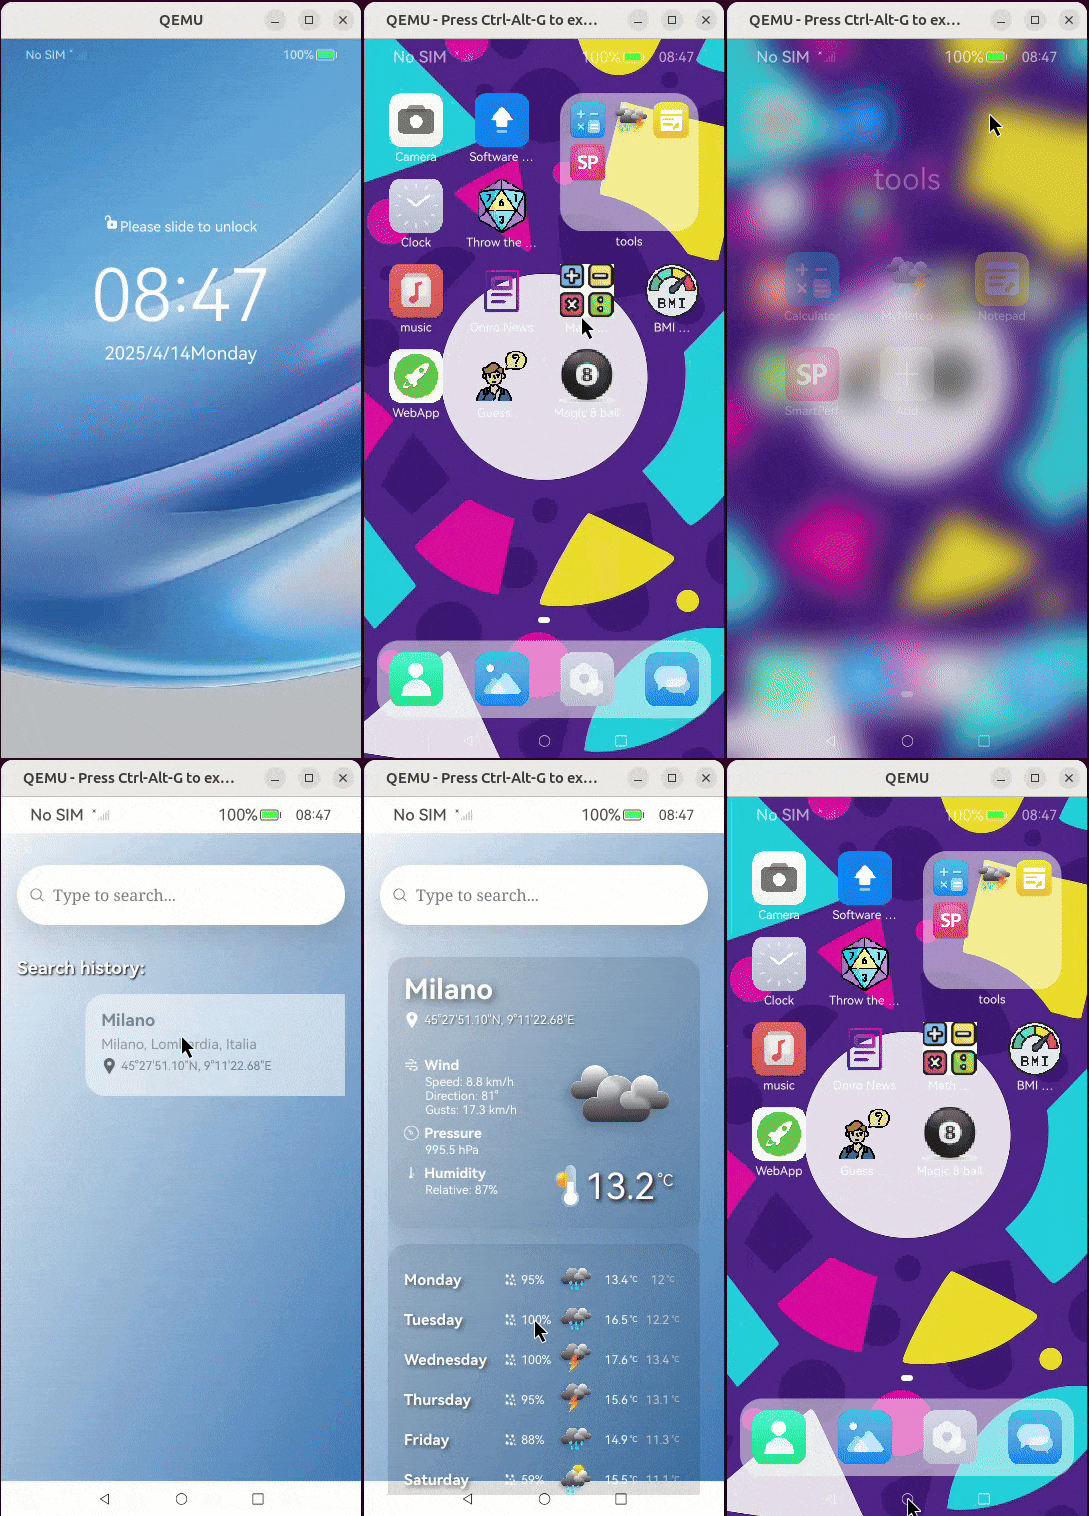
Wait about a minute for the emulator to boot. The Oniro lock screen then appears in the emulator window, or over VNC in headless mode.
Note
hdc is included in the OpenHarmony SDK toolchain. Ensure it is in your PATH.
Reference
For additional information please refer to the Oniro Board Support Packages repository.